Building A Wall by Steel Studs Step by Step
- Feb 19
- 2 min read
Updated: May 17
Building a wall using steel studs is a practical and efficient method often favored in modern construction. Whether you're crafting a dividing wall in your home or working on a commercial project, steel studs offer durability, lightweight handling, and precision. Proper planning and execution are essential to ensure a sturdy and professional result.
Let's walk through the process step by step.
Step 1: Planning and Marking
Your journey begins with a thoughtful plan. Identify where the wall will be built and mark its position clearly on the floor and ceiling using chalk or a pencil. Check the area for any potential obstructions like plumbing, electrical wiring, or HVAC ductwork. Accuracy in this initial stage sets the tone for the entire structure.
Step 2: Installing Tracks
The steel tracks serve as the foundation for your wall. Cut these to length and attach the base track to the floor and the top track to the ceiling. Use screws, anchors, or other fasteners suitable for the surface. It's crucial that both tracks are level and perfectly aligned. You can use tools like a laser level or a plumb bob to achieve precise alignment.
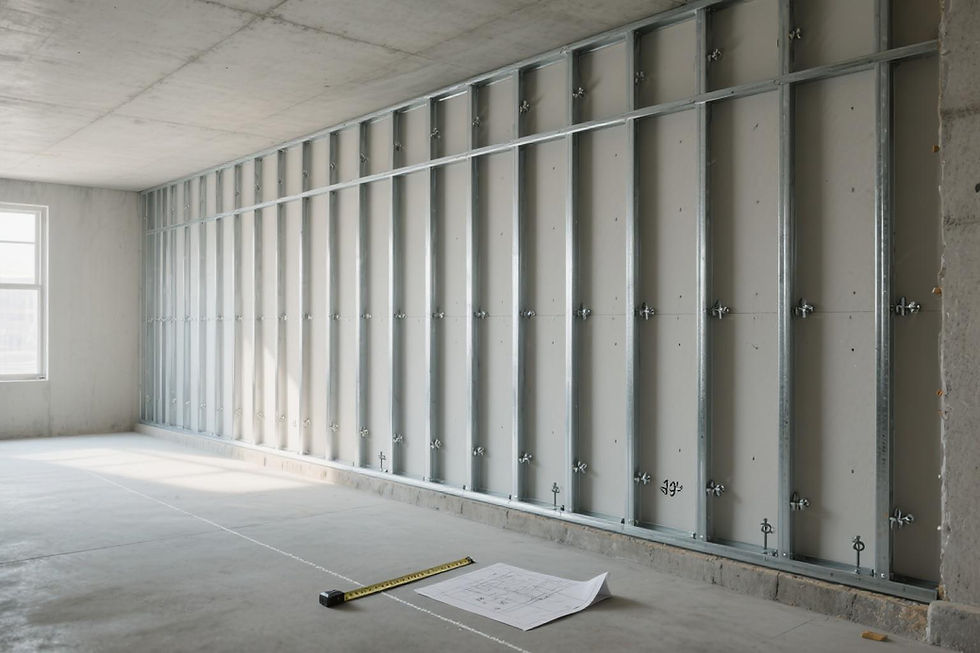
Step 3: Assembling the Studs
With the tracks in place, it's time to measure and cut the steel studs to fit between them. Insert each stud into the tracks, keeping them spaced consistently apart—typically at intervals of 16 or 24 inches on center, depending on your design needs. Use self-drilling screws to secure the studs in place. A framing square comes in handy here to ensure each connection is square and properly aligned.
Step 4: Adding Insulation and Sheathing
If insulation is part of your plan—whether for soundproofing or thermal efficiency—now's the time to install it within the stud cavities. Once insulated, cover the wall frame with sheathing materials such as drywall or cement board. Attach these panels securely using screws and follow manufacturer guidelines for spacing to prevent buckling or uneven surfaces.
Step 5: Finishing Work
The finishing phase transforms your wall into a canvas ready for decoration. Sand any rough spots, prime the surface, and proceed with your desired finish—paint, wallpaper, or a textured coating. These details define the visual appeal of your space, so take your time to achieve a polished appearance.
Step 6: Final Touches
Wrap up your project by installing baseboards, electrical outlets, and any additional features like light switches or decorative trim. These elements not only enhance functionality but also contribute to a cohesive look that ties the room together.
Building a wall with steel studs is a straightforward yet rewarding task if approached methodically. By following these steps with care, you’ll create a professionally crafted wall that stands strong and looks great for years to come!


